
Pressure-Canned Succotash (Corn and Lima Beans)
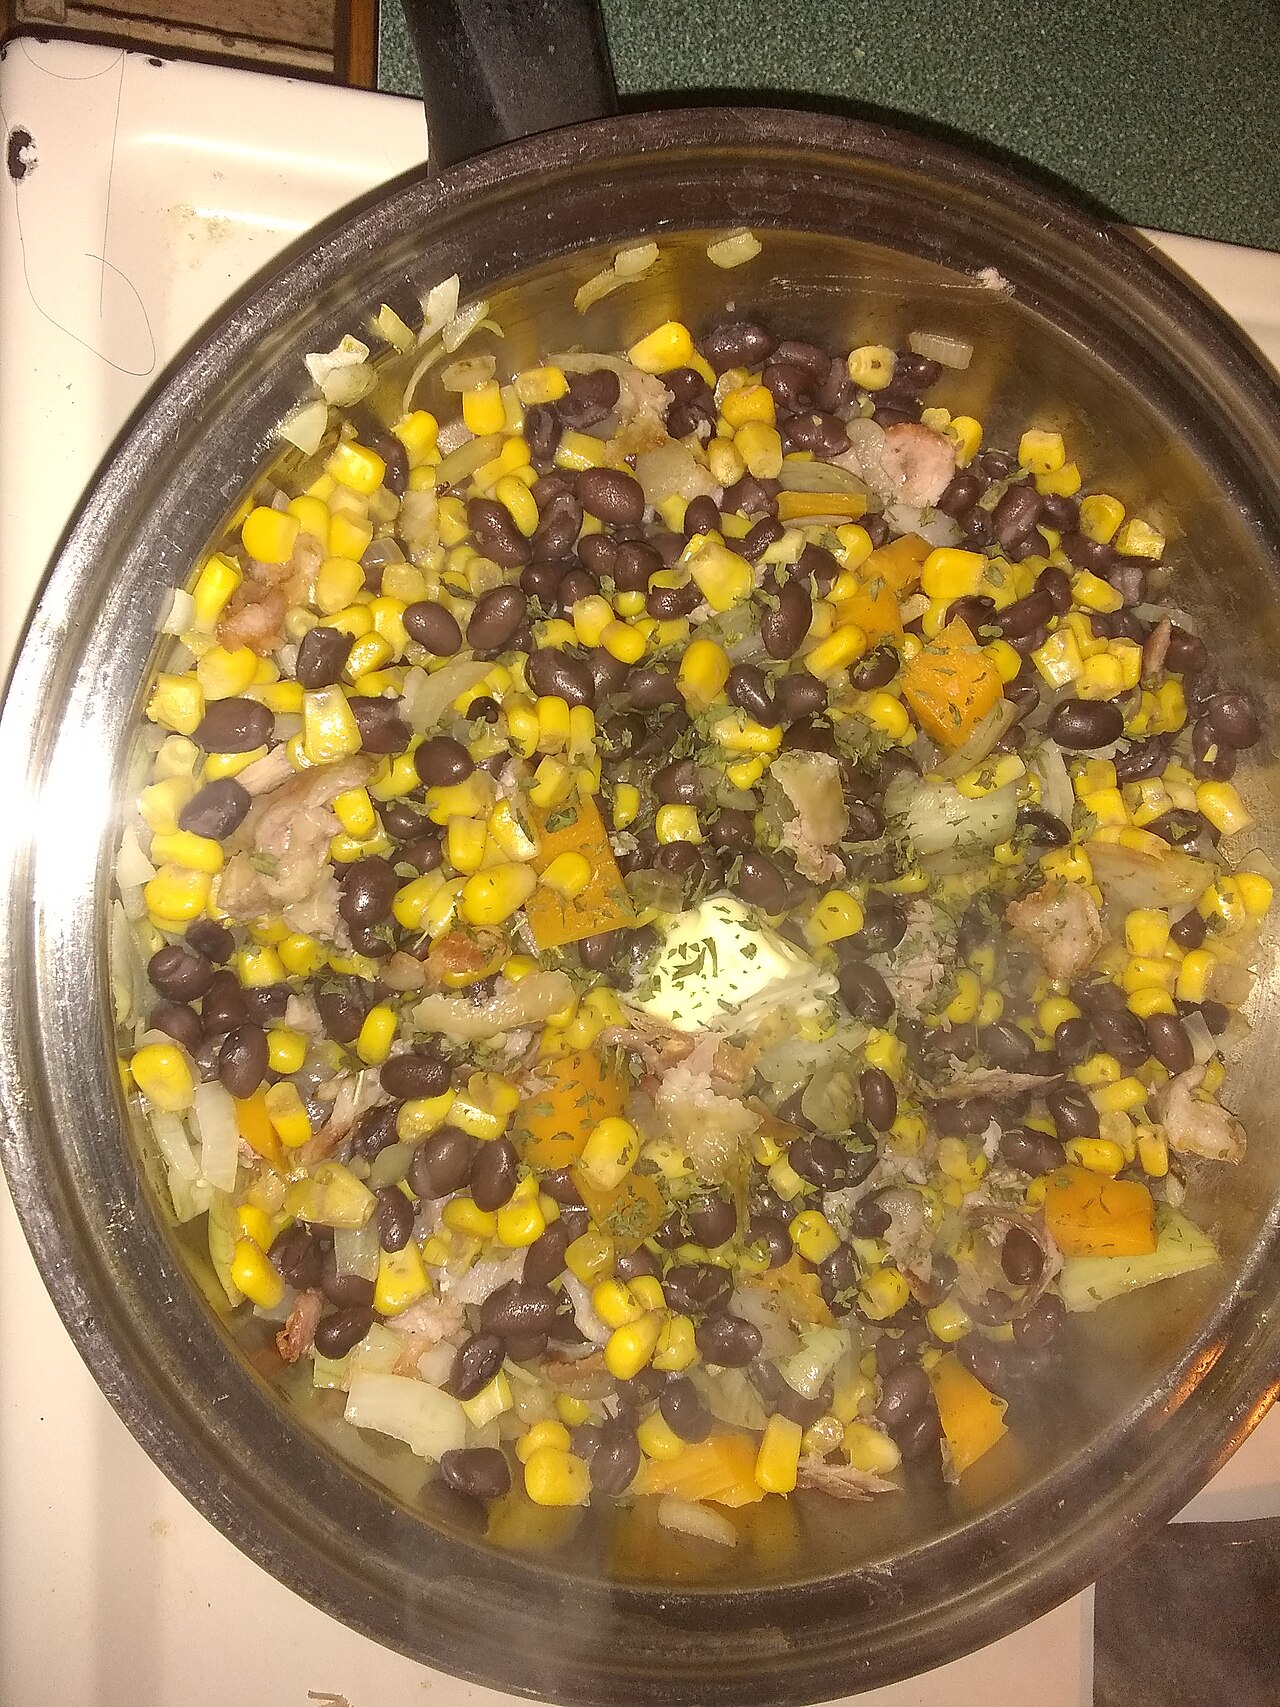
12 servings30 min prep10 min cookMedium
Sign in to rate this recipe.
The Tale of Pressure-Canned Succotash (Corn and Lima Beans)
Succotash, a corn-and-bean dish, comes from Indigenous Northeastern American cooking (the name derives from a Narragansett word), later adopted by European colonists as a staple. Canning it at home became feasible once pressure canning was established as safe for these low-acid vegetables.
Ingredients
Scale:· 12 servings
- 6 ears fresh corn, husked (about 3 cups cut kernels)
- 2 pounds fresh lima bean pods, shelled (about 2 cups shelled beans)
- Boiling water, as needed
- Canning salt, optional (1/2 teaspoon per pint jar or 1 teaspoon per quart jar)
Instructions
- 1Succotash is a mixture of two low-acid vegetables, corn and lima beans, so this recipe must be processed in a pressure canner; a boiling-water bath canner cannot reach the temperature needed to destroy Clostridium botulinum spores and is not safe for canning succotash.
- 2Wash canning jars in hot, soapy water or run them through a dishwasher, then keep the jars hot in simmering water, a warm oven, or the dishwasher until ready to fill; simmer new two-piece lids in hot (not boiling) water according to the manufacturer's instructions until ready to use.
- 3Husk and cut the kernels from about 6 ears of fresh corn (about 3 cups) and shell about 2 pounds of fresh lima bean pods to yield roughly 2 cups of shelled beans, then combine the corn and lima beans in a bowl.
- 4Use the hot-pack method, which is required for this mixture: place the corn and lima beans in a pot, add enough boiling water to cover, bring to a boil, and boil for 3 minutes.
- 5Ladle the hot vegetable mixture and its cooking liquid into jars, filling loosely rather than tightly so liquid can circulate around the dense mixture; add 1/2 teaspoon canning salt per pint or 1 teaspoon per quart if desired for flavor only, as it is not needed for safety.
- 6Fill jars only about three-quarters full of the corn and bean mixture, top off with boiling liquid, and leave 1 inch of headspace.
- 7Slide a non-metallic spatula or bubble remover between the food and the jar in two or three places to release trapped air bubbles, adding more liquid if needed to restore the correct headspace; wipe the jar rim clean with a damp paper towel, center a prepared lid on the jar, and screw on the metal band until fingertip tight.
- 8Place the filled jars on the rack in the pressure canner, add the amount of water called for in your canner's manufacturer instructions (typically 2 to 3 inches), lock the canner lid in place, and heat on high; let steam vent steadily and forcefully from the open petcock or vent for a full 10 minutes to purge all air from the canner before closing the petcock or setting the weighted gauge on the vent pipe.
- 9Process pint jars for 60 minutes and quart jars for 85 minutes, since a vegetable mixture must always be processed for the time required by whichever ingredient needs the longest processing (here, corn): in a weighted-gauge canner use 10 pounds of pressure at altitudes up to 1,000 feet or 15 pounds above 1,000 feet; in a dial-gauge canner use 11 pounds up to 2,000 feet, 12 pounds at 2,001-4,000 feet, 13 pounds at 4,001-6,000 feet, or 14 pounds at 6,001-8,000 feet.
- 10When the processing time is finished, turn off the heat and let the canner depressurize naturally — never run water over it, jiggle the weight, or open a petcock to force cooling — this takes about 30 to 45 minutes; wait until a dial gauge reads zero, or on a weighted-gauge canner wait at least 2 minutes after the last hiss of escaping steam, then remove the weight or open the petcock and wait 10 more minutes before unlocking and carefully removing the lid, tilting it away from your face to let the last of the steam escape.
- 11Using a jar lifter, remove the jars and set them upright, spaced at least an inch apart, on a towel or cooling rack in a draft-free spot, and let them cool undisturbed for 12 to 24 hours.
- 12Once the jars are completely cool, check each seal by pressing the center of the lid — it should be firm and not flex or pop; remove the screw bands, wipe down the jars, and label each one with its contents and the date it was canned.
- 13Store sealed jars in a cool, dark place and use within about 1 year for best quality; because this is a low-acid vegetable, always boil the contents hard for 10 minutes (adding 1 additional minute for each 1,000 feet above sea level) before tasting or serving, and discard without tasting any jar with an off odor, spurting liquid upon opening, or a lid that is unsealed, bulging, or leaking.
Want Cook Mode, your own recipe photos, and unlimited calculators?
Get Home Cooking ProComments
Loading comments…
Sign in to leave a comment.