
Canned Beef Stew with Vegetables
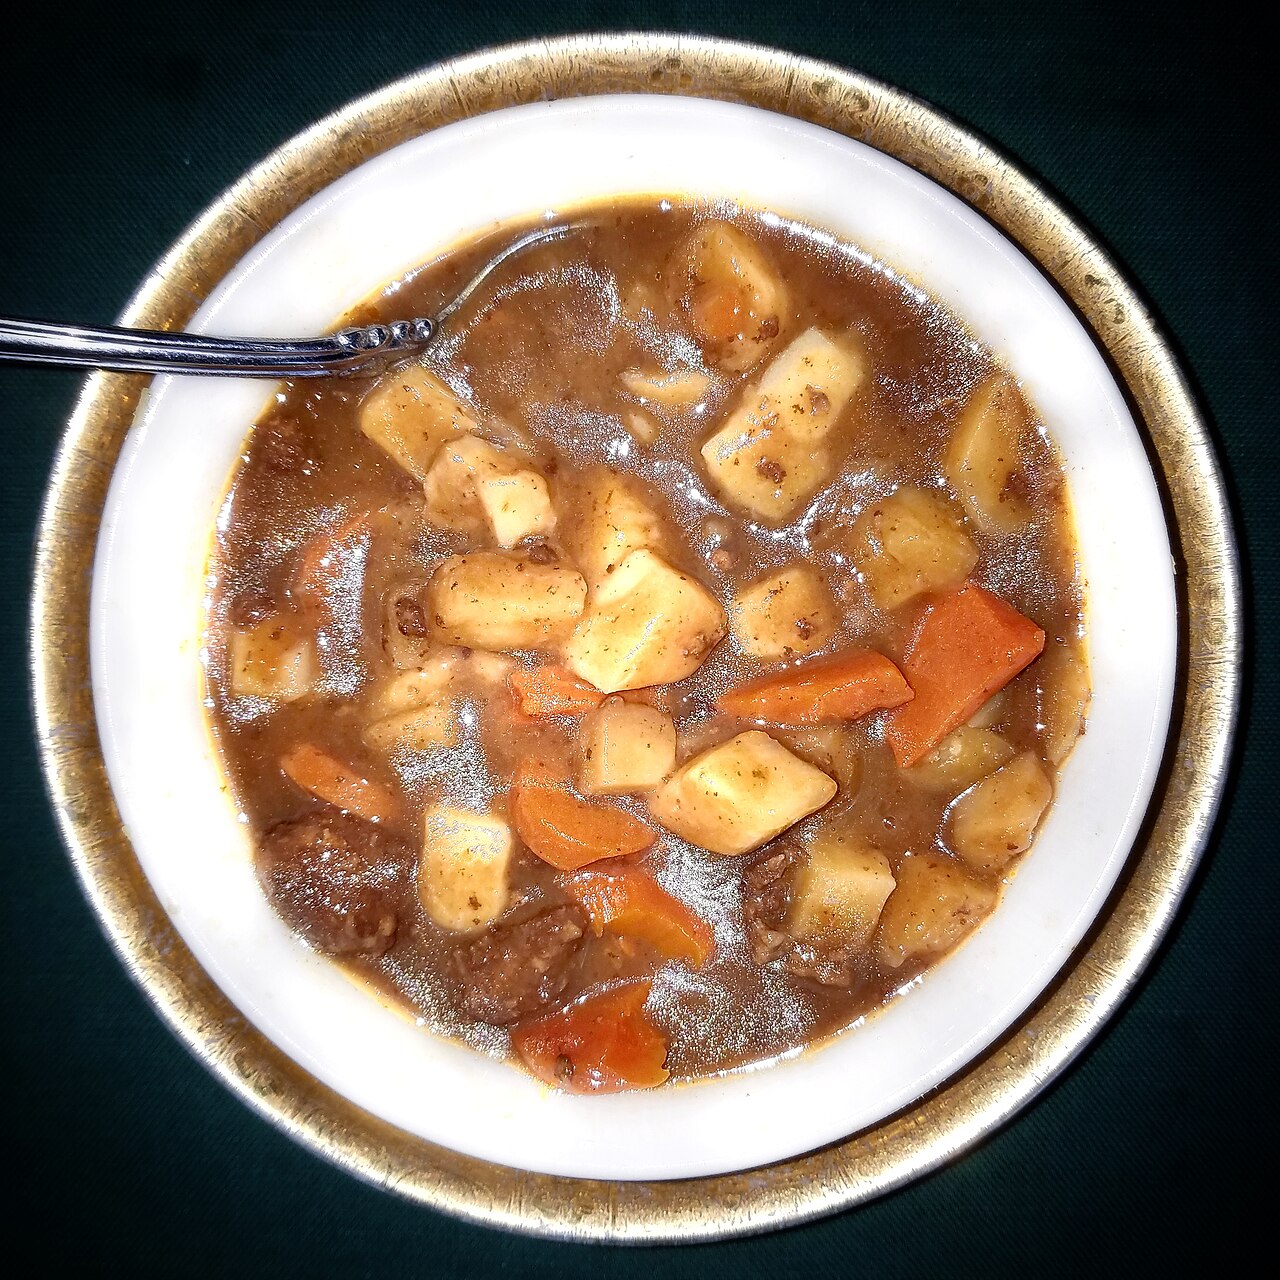
28 servings40 min prep45 min cookMedium
Sign in to rate this recipe.
The Tale of Canned Beef Stew with Vegetables
Home-canned beef stew reflects mid-20th-century American pantry-preservation traditions, when families and homesteaders canned big batches of hearty, ready-to-eat meals to have on hand through winter, lean times, or whenever a quick shelf-stable dinner was needed.
Ingredients
Scale:· 28 servings
- 5 pounds beef chuck, trimmed and cut into 1-inch cubes
- 3 cups diced potatoes (1/2-inch cubes)
- 3 cups sliced carrots
- 2 cups diced celery
- 2 cups diced onion
- Salt, optional, up to 1 teaspoon per quart jar, for flavor only
- Boiling beef broth or water, enough to cover the stew in the jars
- No flour, cornstarch, or other thickener (do not add; see safety note in instructions)
Instructions
- 1Understand before you begin that beef stew combining meat with low-acid vegetables is a low-acid food and must be processed in a pressure canner; a boiling-water bath is never safe for this combination, regardless of how long it is boiled.
- 2Wash 7 quart jars in hot soapy water or a dishwasher and keep them hot; wash new lids and prepare them exactly as the manufacturer instructs.
- 3Trim the beef of excess fat and cut it into 1-inch cubes, then brown the cubes in a small amount of oil in a large pot over medium-high heat until browned on the outside; this hot-pack step improves color and flavor and is required for stew mixtures.
- 4Add the diced potatoes, carrots, celery, and onion to the pot along with enough water or broth to cover, bring to a boil, and simmer for about 5 minutes just to heat everything through; do not fully cook the vegetables, since they will continue cooking during processing.
- 5Do not add flour, cornstarch, tapioca, or any other thickener to the stew before canning, because these dense starches and thickeners prevent heat from penetrating evenly to the center of the jar during processing, which can allow harmful bacteria and spores to survive; thicken the stew only after opening the jar, at serving time.
- 6Using a slotted spoon, pack the hot meat and vegetables loosely into the hot jars, distributing them evenly, without pressing the mixture down tightly, so liquid can circulate throughout.
- 7Leave 1 inch of headspace at the top of each jar.
- 8Ladle the boiling cooking liquid over the meat and vegetables until covered, maintaining 1 inch of headspace, and add salt only for flavor.
- 9Run a bubble tool through the jar in several places to release air trapped among the meat and vegetable pieces, then recheck and adjust headspace to 1 inch as needed.
- 10Wipe the jar rims completely clean of any grease or liquid, center a lid on each jar, and screw the band down fingertip tight.
- 11Load the jars into the pressure canner, add water according to the manufacturer's instructions, lock the lid, and vent steam steadily for 10 minutes before pressurizing.
- 12Process pint jars for 75 minutes and quart jars for 90 minutes at 10 pounds pressure in a weighted-gauge canner up to 1,000 feet (15 pounds above 1,000 feet), or 11 pounds in a dial-gauge canner up to 2,000 feet (12 pounds from 2,001 to 4,000 feet, 13 pounds from 4,001 to 6,000 feet, 14 pounds from 6,001 to 8,000 feet).
- 13Turn off the heat once processing is finished and allow the canner to depressurize naturally on its own; never quick-release a canner containing a meat-and-vegetable stew.
- 14Wait until the gauge reads zero, then wait 2 more minutes, slowly vent any remaining pressure, wait 10 more minutes, then unlock and open the canner.
- 15Move the jars to a towel-lined surface and let them cool completely undisturbed for 12 to 24 hours.
- 16Check that each lid has sealed, wipe the jars clean, label with contents and date, and store in a cool, dark place for up to about 1 year.
- 17Before eating, boil the stew hard for 10 minutes, stirring occasionally, to destroy any possible botulinum toxin, and discard without tasting any jar with an off odor, spurting liquid, or a lid that never sealed or is bulging.
Want Cook Mode, your own recipe photos, and unlimited calculators?
Get Home Cooking ProComments
Loading comments…
Sign in to leave a comment.