

Rhubarb Crumb Pie
Sign in to rate this recipe.
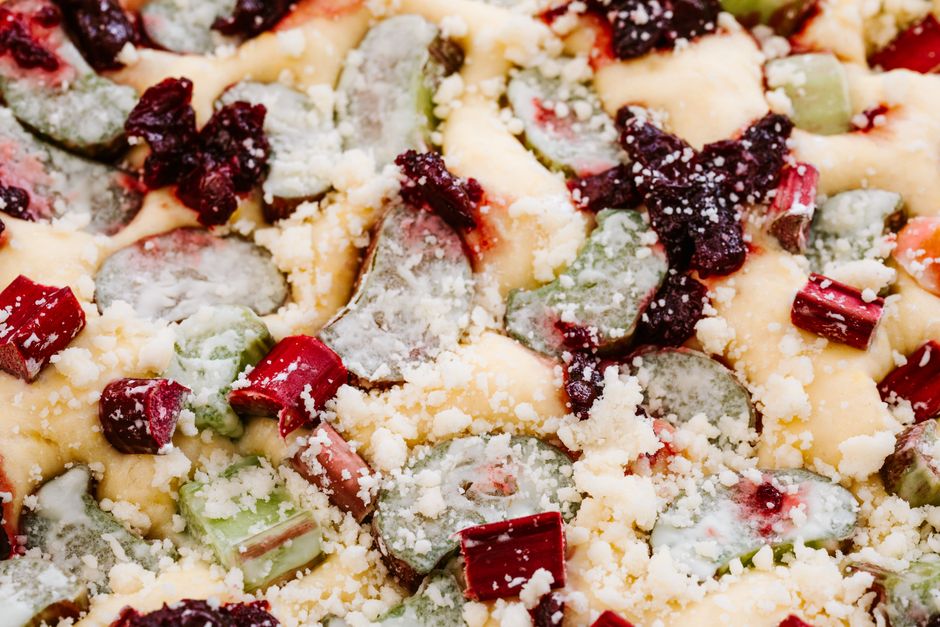
Ingredients
- 1 unbaked 9-inch pie crust (store-bought or homemade)
- 6 cups sliced rhubarb
- 1 cup granulated sugar
- 1/3 cup cornstarch
- 1 tsp orange zest
- 1 tbsp lemon juice
- 1 cup all-purpose flour
- 1/2 cup packed brown sugar
- 1/2 cup cold butter, cubed
- 1/4 tsp salt
Method
- Preheat oven to 375°F (190°C). Fit the crust into a 9-inch pie dish and crimp the edges.
- Toss the sliced rhubarb with the sugar, thickener, spice, and lemon juice, then spread evenly in the crust.
- For the crumb topping, rub the flour, brown sugar, butter, and salt together with your fingers until it forms coarse, pea-sized clumps.
- Scatter the crumb topping evenly over the filling.
- Bake for 50–60 minutes, tenting the edges with foil if the crust browns too quickly, until the topping is golden and the filling bubbles at the edges.
- Cool on a wire rack at least 2 hours before slicing.
The Tale of Rhubarb Crumb Pie
Story updated
hubarb crumb pie brings together rhubarb's long British and early American history, the plant was cultivated in England from the 1600s onward, reached American gardens in the 1700s and 1800s (Benjamin Franklin is often credited with sending seeds to Philadelphia botanist John Bartram), and earned the nickname "pie plant" once colonists realized its tart stalks, sweetened generously, made excellent pie filling, with the streusel crumb topping introduced to Pennsylvania by German-speaking settlers. As with other crumb-topped fruit pies, there's no clear record of exactly when or where the two traditions merged; it was likely a gradual, undocumented development in 19th- and 20th-century American kitchens, as bakers in rhubarb-friendly regions like the Great Plains, Midwest, and New England, where other fruits weren't always easy to come by, applied the quicker crumb topping to a filling they already grew reliably every spring, well before strawberries or other fruits were in season.
Want Cook Mode, your own recipe photos, and unlimited calculators?
Get Home Cooking ProComments
Loading comments…
Sign in to leave a comment.